Kinetica – the real-time analytics database for space time, is now available as a service in the AWS Marketplace, allowing AWS developers and users to get started quicker than ever before.
The focus of this offering is ease-of-use and time-to-value. Instead of concerning yourself with infrastructure selection, configuration, and deployment, you can choose from a set of pre-defined deployments optimized by Kinetica, from single-node instances for dev/test to powerful production-ready multi-node options.
Our new Kinetica Workbench user interface also streamlines your data ingestion and analysis. With simple UI wizards, you can quickly ingest data from a variety of sources and/or generate the SQL commands to load data on an ongoing basis. And, with the rich interactive SQL Workbooks, you and your colleagues can collaborate on data analysis and visualization.
Let’s walk through the prerequisites to get started in AWS and the simplified provisioning process.
Before you get started
Before using Kinetica in the AWS Marketplace, make sure you have the following prerequisites:
- AWS Account
- AWS Service Quota
You will need quota in your target AWS region for resources including VPCs, Elastic IPs and specific hosts (t3, r5, g3) depending on your Kinetica cluster configuration. For details on the required resources, see the documentation. - AWS Permissions
You will need permissions to buy and use AWS Marketplace applications and provision the required AWS resources. The Kinetica Cloud Formation Template will create a VPC, EKS cluster, IAM roles, Lambda functions, and Step Functions during provisioning. It is recommended that you have Administrator Access to be able to provision Kinetica.
For more details on the prerequisites, see the documentation.
Provisioning Kinetica
If you have deployed products from the AWS Marketplace before or worked with CloudFormation stacks, the process for Kinetica should be very familiar. You can skip ahead to the Kinetica-specific configuration details here
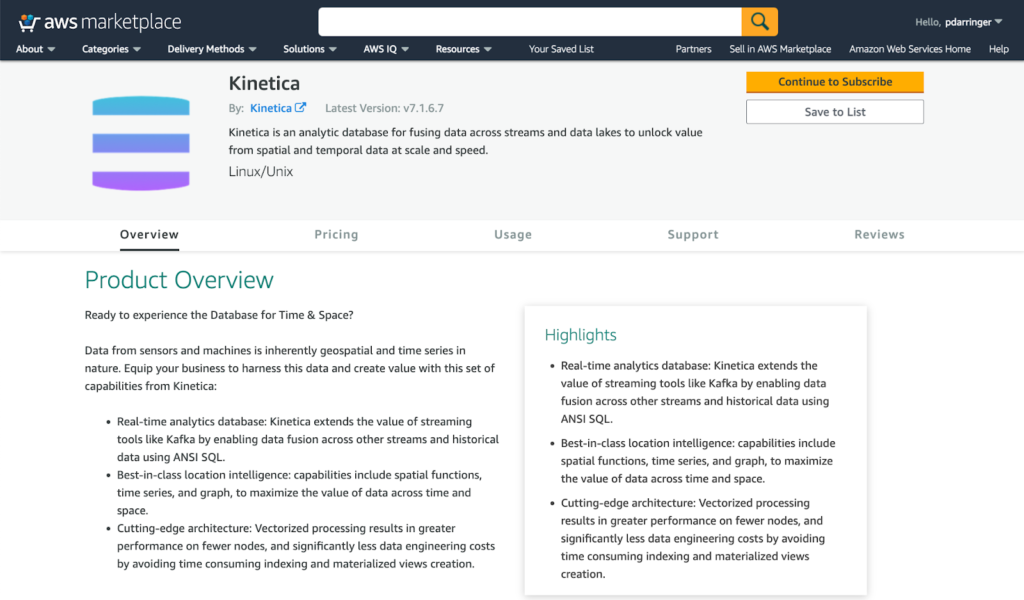
Start by selecting Kinetica from the Marketplace:
https://aws.amazon.com/marketplace/pp/prodview-ceprlpzsnjbzg?sr=0-1&ref_=beagle&applicationId=AWS-Marketplace-Console
- The first step in the AWS Marketplace is to subscribe to the product. Click on Continue to Subscribe to purchase an entitlement for Kinetica. Note: You will not incur any charges for purchasing an entitlement for Kinetica.
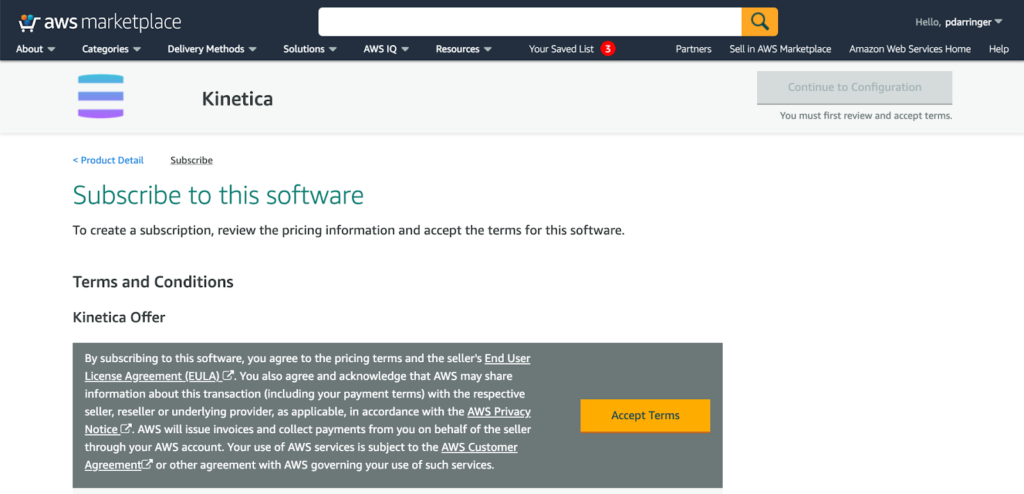
- Review the Terms and Conditions and click Accept Terms
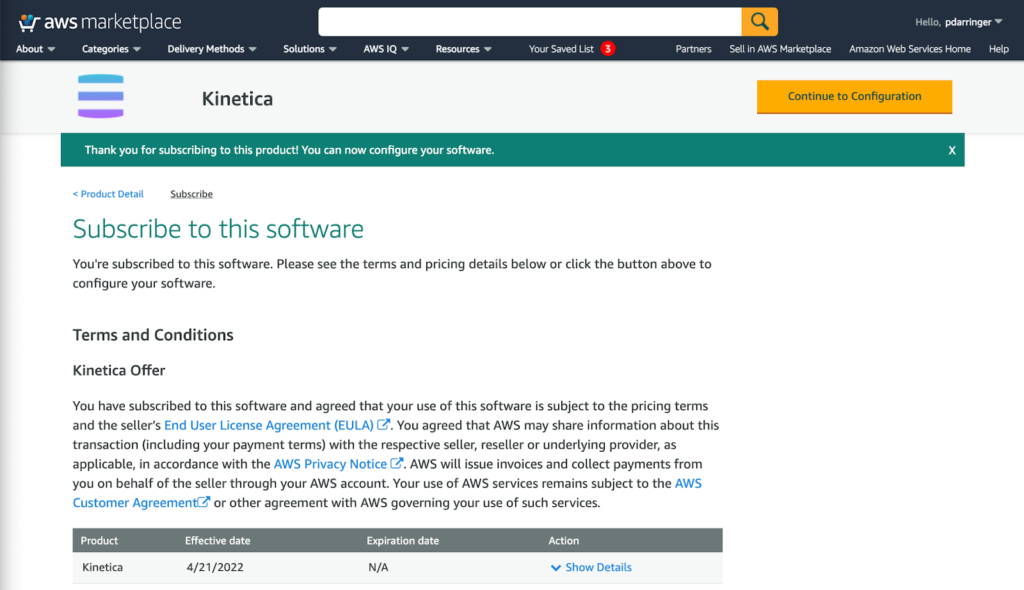
- Once the request has completed, you will be able to configure Kinetica. Click Continue to Configuration.
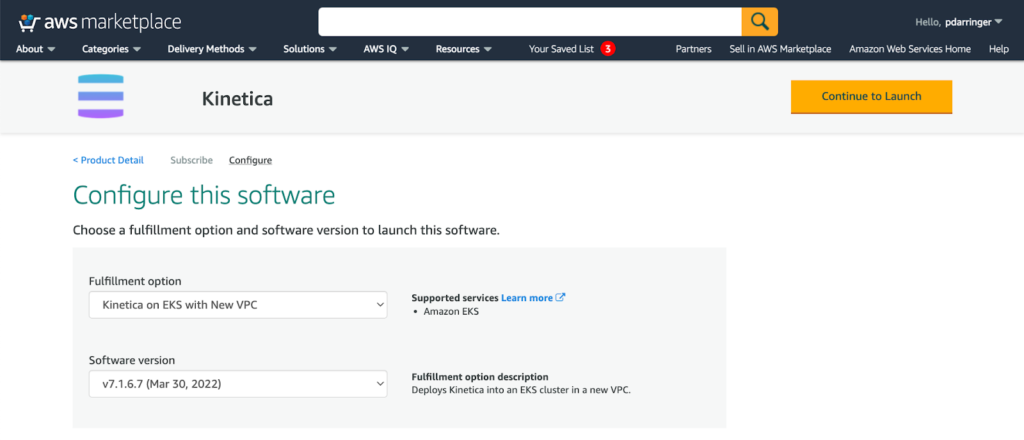
- Kinetica has a single fulfillment option (On EKS with New VPC) which will use Cloud Formation to deploy Kinetica into an Elastic Kubernetes Service (EKS) cluster in a new VPC. Choose the latest version of the product and click Continue to Launch.
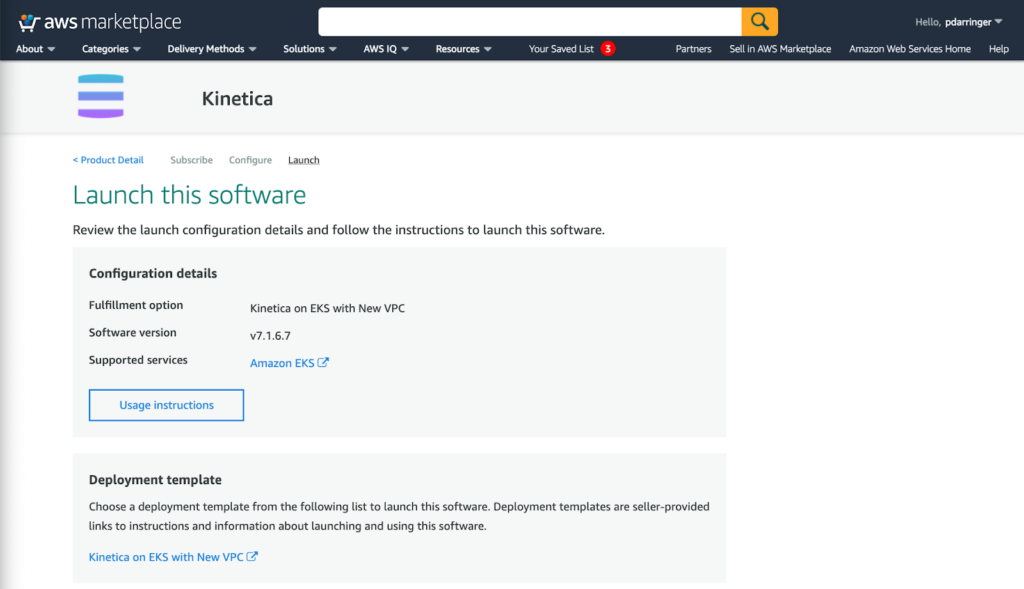
- Under Configuration details, you can review the Usage instructions and find links to this documentation. Click on the link under Deployment template; e.g., Kinetica on EKS with New VPC.
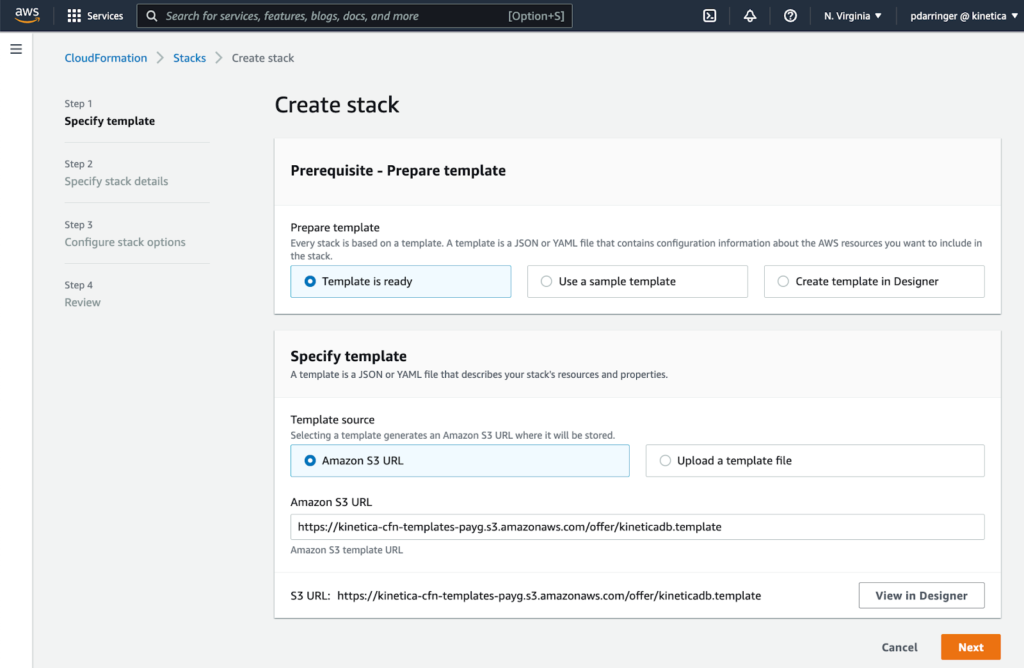
- Now you will create a standard CloudFormation stack based on the Kinetica template. For more details on creating a stack with the AWS Console, refer to the AWS documentation: https://docs.aws.amazon.com/AWSCloudFormation/latest/UserGuide/cfn-console-create-stack.html
Make sure you have selected the current AWS region for your deployment and click Next to Specify stack details.
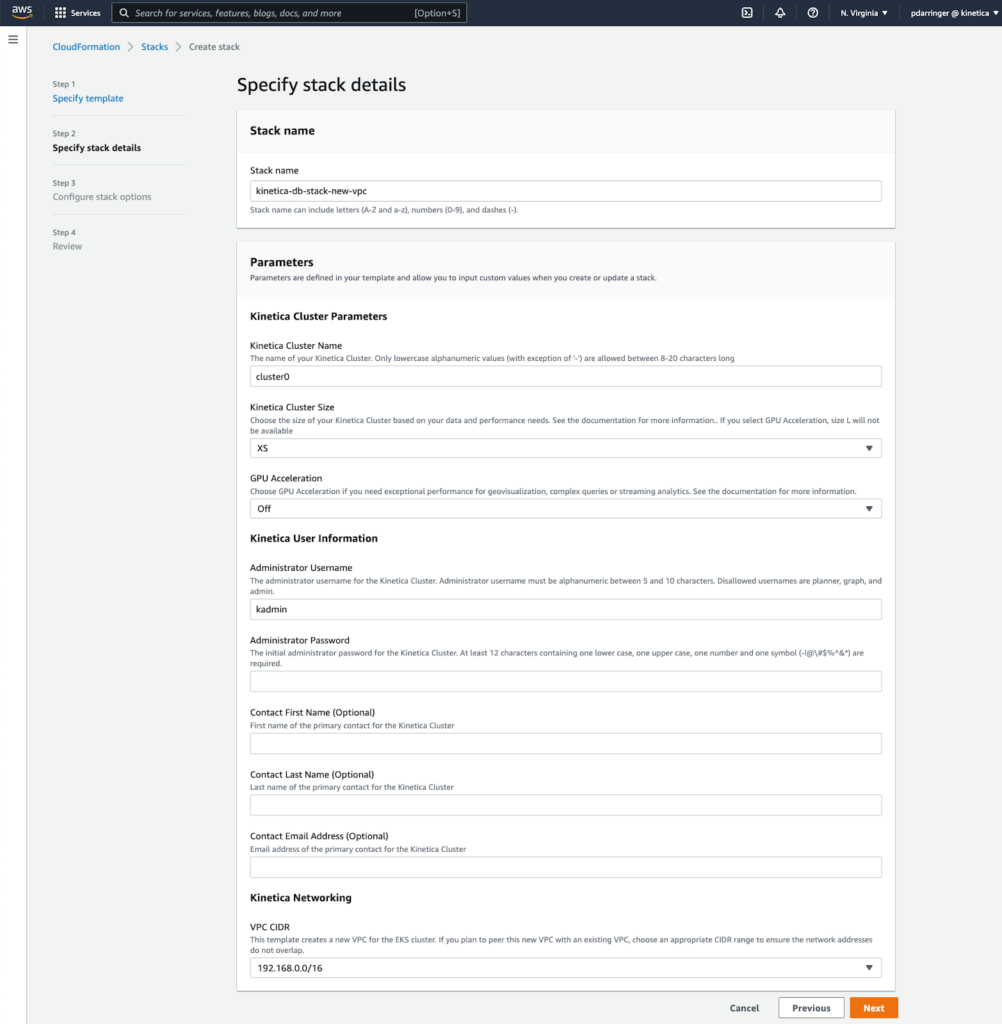
Specify stack details
- Most of the fields are straightforward, but here are a few that might require more explanation:
- Kinetica Cluster Size. Choose a pre-configured cluster size (XS, S, M). We recommend choosing XS to get started, but for additional details on the configurations and performance of the different sizes, see the documentation
- GPU Acceleration. Choosing this option will deploy GPUs to improve your database performance. Consider enabling GPU Acceleration if you have use cases requiring interactive visualization of large scale geographic data or high-cardinality joins.
- VPC CIDR: If you intend to peer this new VPC with an existing AWS VPC, you can choose a different CIDR range that doesn’t overlap with the other network. Otherwise, you can just keep the default value.
- Here you can add tags to the CloudFormation stack or control other advanced stack options, but otherwise accept the defaults and click Next
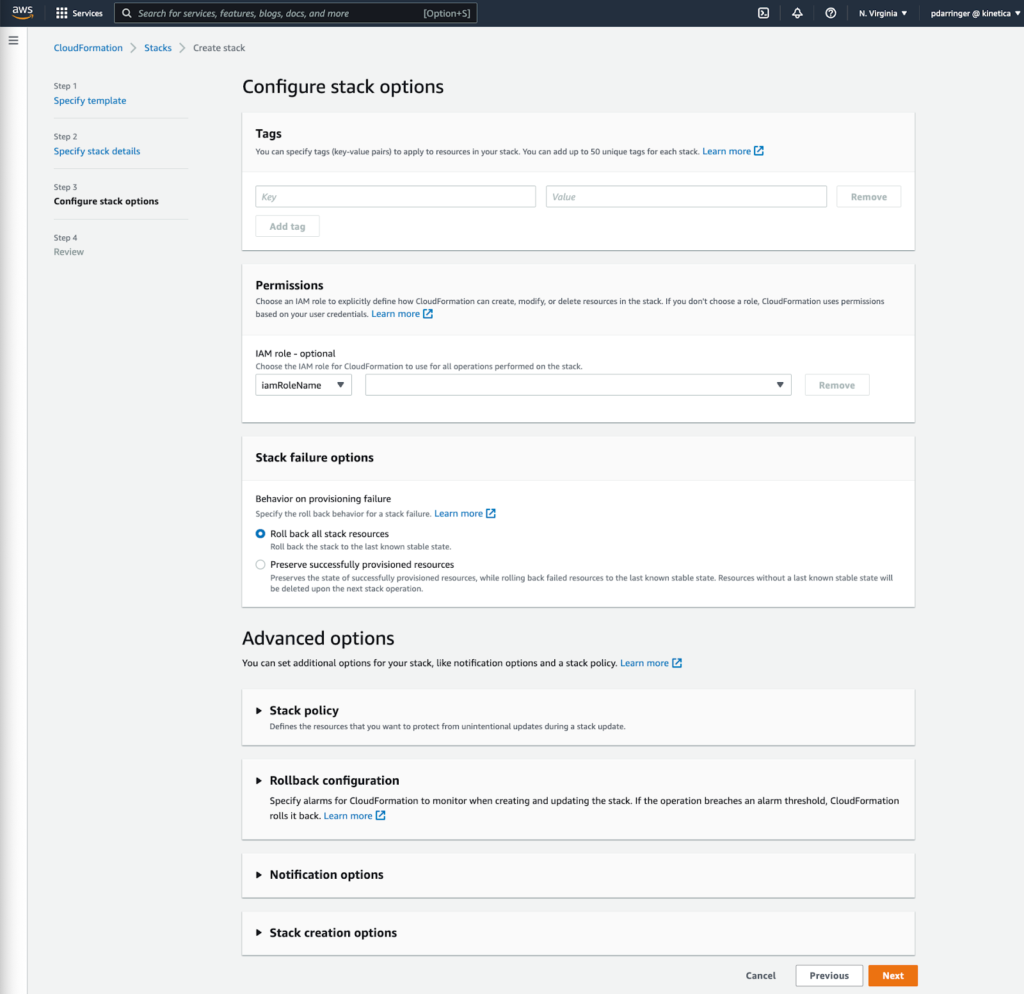
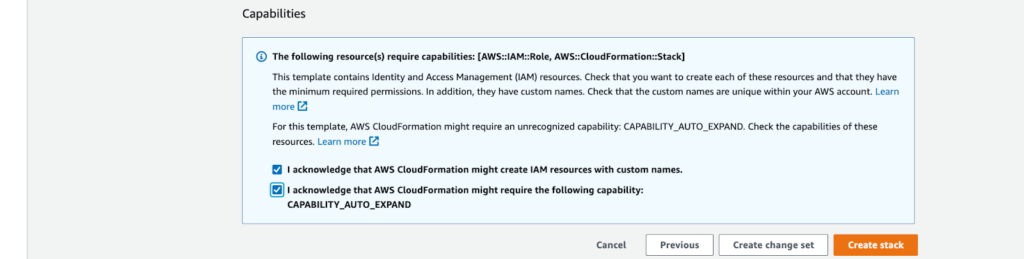
- Confirm the configuration and be sure to acknowledge the additional required capabilities before clicking Create stack

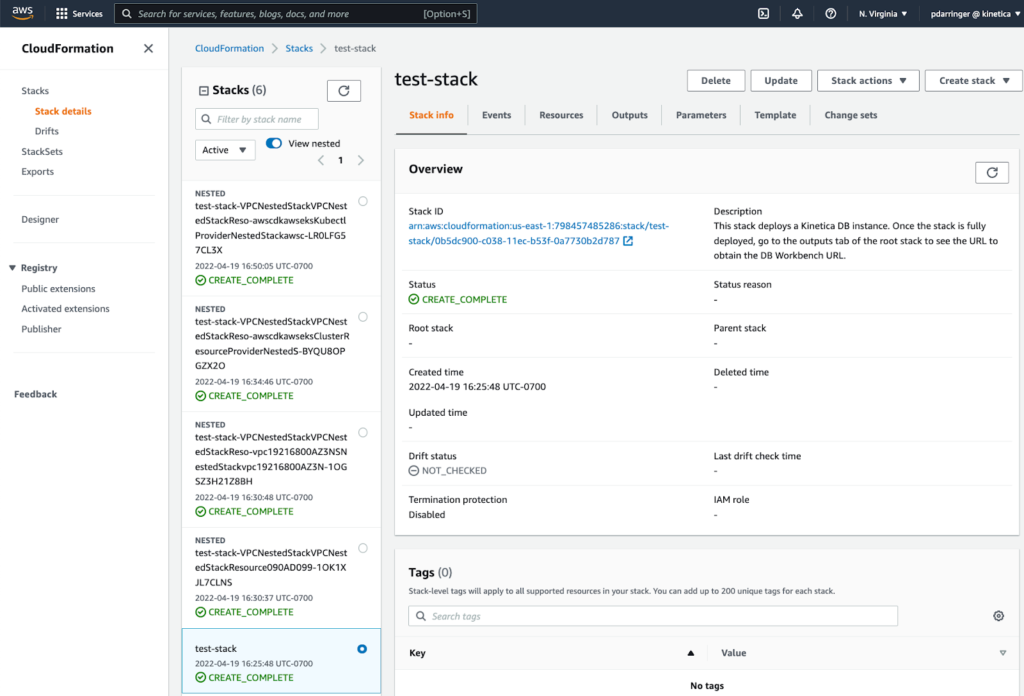
- The provisioning process is now underway and should take about 1 hour to complete. You can monitor the progress of the stack (and the nested stacks) in the AWS Console, and the process is complete once all of the stacks say “CREATE_COMPLETE”.
- Select the Outputs tab for the root stack to find the URL of the Kinetica Workbench (workbenchURL)
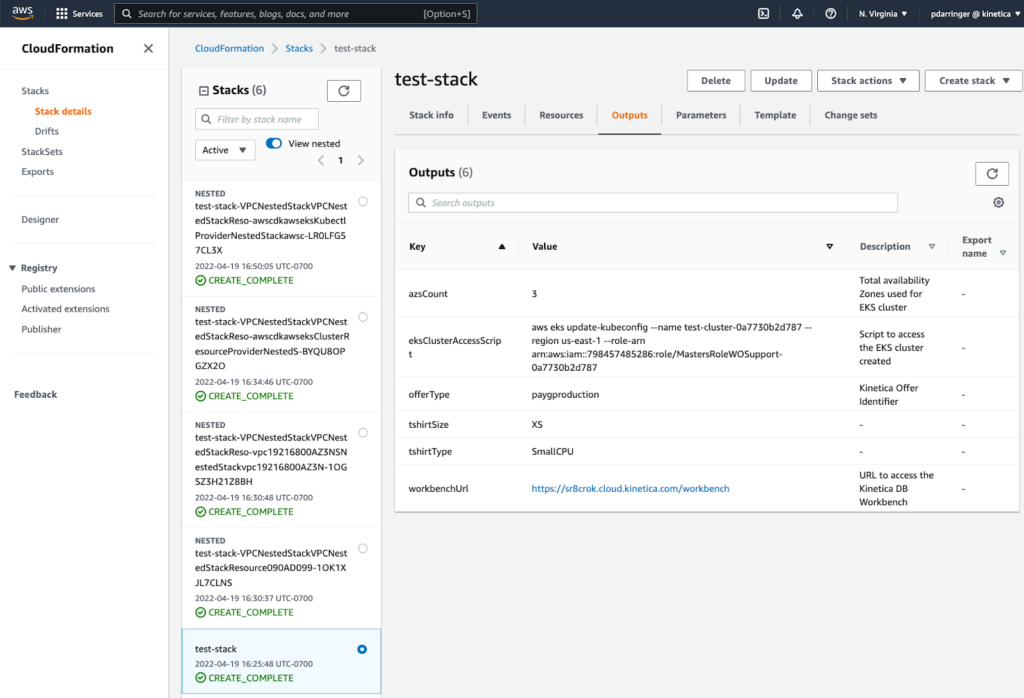
- There you will be able to login with the admin username and password you specified in the template.
You are now up and running in AWS! For more information on using the Kinetica Workbench, see this video or the documentation. Stay tuned for a future blog on managing your Kinetica cluster in AWS.